What Do Lens Numbers Mean? Focal Length, Aperture and Stabilisation Explained
Lens names look like part numbers: 24-70mm f/2.8, 50mm f/1.8, 70-200mm f/4 with stabilisation. Once you know what each figure refers to, buying a lens stops being guesswork. Those numbers describe three practical things: how much of the scene fits in the frame, how much light reaches the sensor, and whether the lens can steady itself when your hands cannot. Here is how to read them.
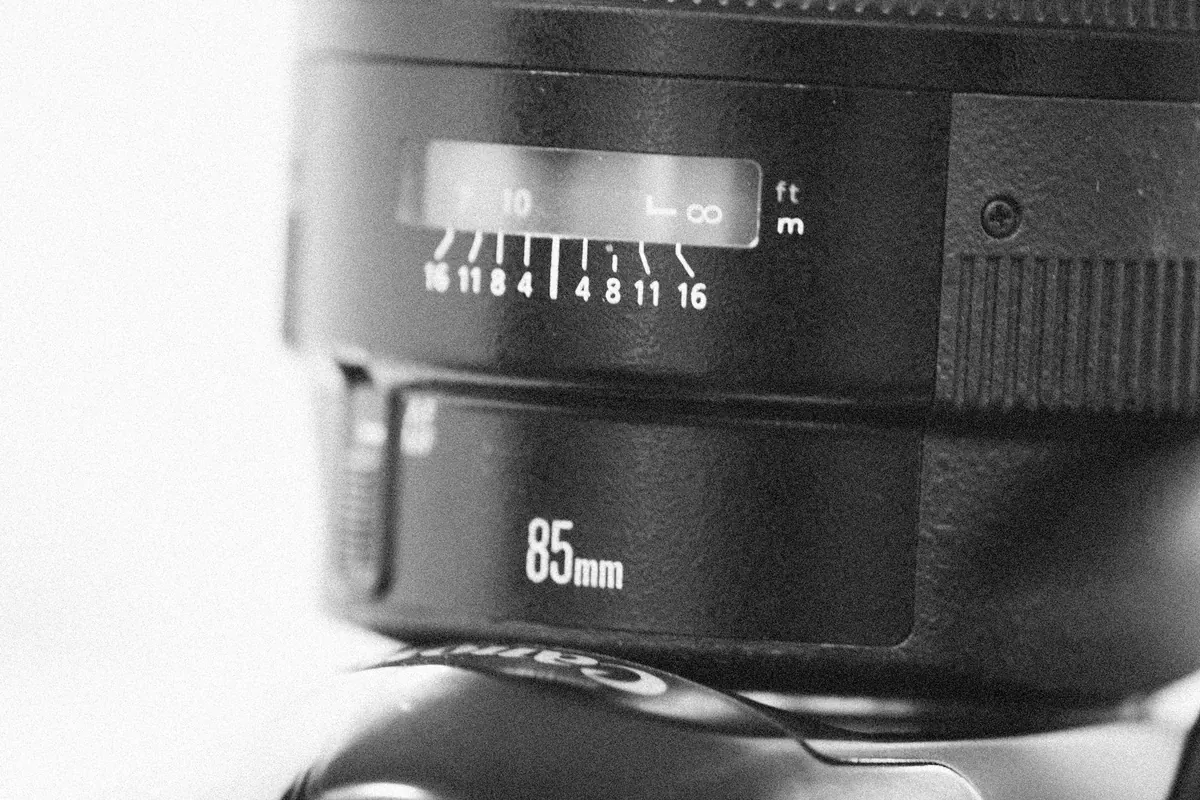
Focal length is given in millimetres, and it tells you the angle of view. Small numbers are wide, large numbers are tight. A 16-35mm zoom swallows a whole room or a landscape. A 50mm sits in the middle and gives a natural-looking perspective on a full-frame camera, which is why so many photographers keep one. An 85mm or 135mm flatters faces by compressing features slightly, and anything from 200mm upwards pulls distant subjects close.
On a smaller sensor, the same lens shows less of the scene. A 25mm lens on a Micro Four Thirds body frames roughly like a 50mm on full frame, and a 35mm lens on an APS-C camera behaves like a 50mm. This is why the same lens can feel wide on one camera and standard on another. If you are switching systems, check the crop factor before assuming your favourite focal length will feel the same.
Zoom lenses cover a range, primes sit at one focal length. The "3x zoom" labels used in shops are close to meaningless: an 18-55mm and a 100-400mm are both roughly 3x zooms, yet they do completely different jobs. Always look at the actual range, not the multiplier.
Aperture is written as f/2.8, f/4 or f/5.6. It is a ratio, so the smaller the number, the wider the opening and the more light gets through. Each full stop halves or doubles the light: f/1.4, f/2, f/2.8, f/4, f/5.6, f/8. A lens that opens to f/1.8 lets in far more light than one that stops at f/5.6, which is why photographers call bright lenses "fast".
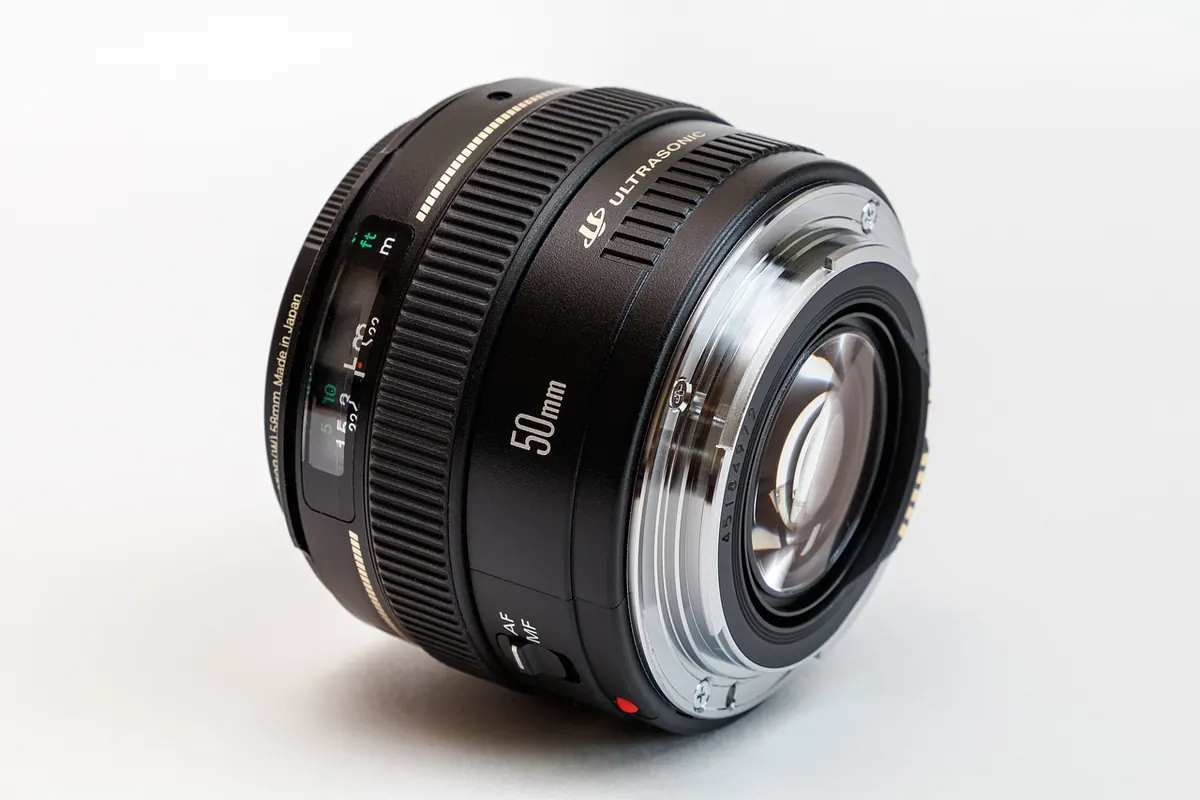
A wide aperture does two jobs. It lets you shoot in dim rooms without pushing the ISO, and it narrows the band of sharp focus, so backgrounds melt away behind a portrait. Both effects are real, and both cost money and weight. A 50mm f/1.8 is small and affordable; a 50mm f/1.2 is neither.
An 18-55mm f/3.5-5.6 is a variable-aperture zoom. At 18mm it opens to f/3.5, but as you zoom in the maximum aperture shrinks to f/5.6. Your exposure drifts as you zoom, and indoor shooting gets harder at the long end. A constant-aperture zoom such as a 24-70mm f/2.8 holds the same aperture throughout, which makes metering predictable and manual exposure simpler. It is also bigger, heavier and more expensive.
Beyond focal length and aperture, a lens carries a cluster of symbols. These are the ones worth understanding:
Image stabilisation counteracts the small movements of your hands. It is described in stops of shutter speed, and the logic is simple: if a system claims three stops of benefit, you might handhold a shot at 1/15sec that would otherwise need 1/125sec. The old rule of thumb is to use a shutter speed of at least one over the focal length, so 1/50sec at 50mm on full frame. Stabilisation relaxes that rule, though how much depends on the lens, the camera and how steady you are on the day.
Two things are worth knowing before you pay extra for it. First, stabilisation does not freeze movement. It will help you shoot a still building at dusk; it will not sharpen a running child or a cycling peloton. For those you need a fast shutter speed. Second, in-body and in-lens systems can work together on some cameras, and many lenses now detect tripod use automatically, but older stabilised lenses can misbehave on a tripod and are best switched off.
On a panning shot, look for a mode that stabilises vertically only, otherwise the system fights your deliberate horizontal sweep.
Work through the specification in a fixed order and the decision becomes much easier.
Read enough lens labels and the code dissolves. Focal length tells you the framing, the f-number tells you the light and the background, and the stabilisation badge tells you how slow you can safely go. Choose the first two to suit the photographs you actually take, and treat everything else as detail.
Photo: Alexey Demidov / Pexels
Previous Post
Review: Best Budget 50mm Lenses for UK Beginners
Next Post
How to Clean Camera Lenses Safely in British Weather