How to Use a Macro Lens for Close-Up Nature Photography
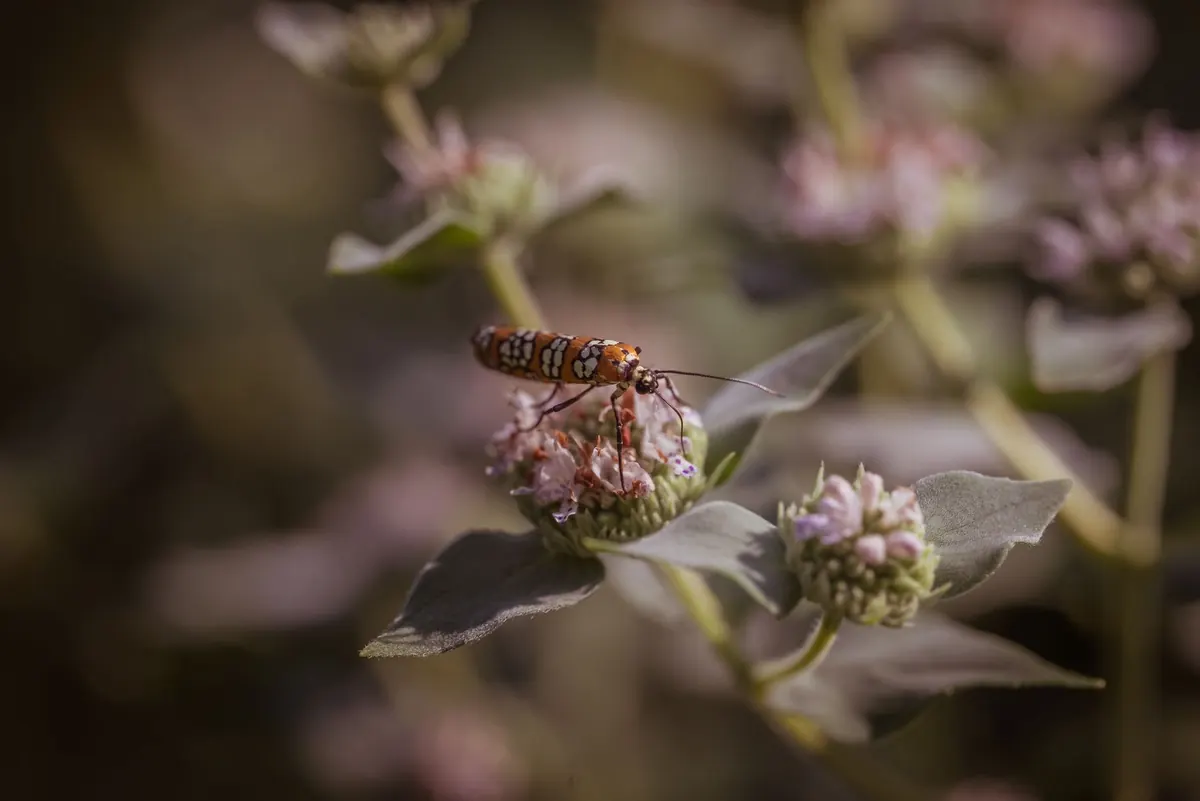
The best close-up nature photographs rarely happen by accident. They come from a slow sequence of decisions: where you put the camera, how you hold it, what the light is doing, and how many frames you are willing to spend on a subject that would rather be somewhere else. A macro lens gives you the magnification. Technique is what turns that magnification into detail a viewer can actually see.
Here is how to build that technique, from picking the glass to stacking your way to a fully sharp beetle.
Macro lenses are usually described by magnification: a true macro reaches 1:1, meaning the subject is rendered life-size on the sensor. What matters more in the field is working distance — how far the front of the lens sits from your subject at that magnification.
If you already own a telephoto, extension tubes or a good achromatic close-up dioptre will get you into macro territory for less money. Tubes cost you light and, depending on length, the ability to focus at infinity — fine for close work, awkward if a deer wanders past.
At 1:1, depth of field is measured in millimetres. Every wobble is magnified along with everything else, so the first job is removing movement that is not your subject.
Work from a tripod low enough to shoot at eye level with a beetle. A focusing rail lets you nudge the whole camera forward in tiny increments instead of fighting the focus ring. Switch to manual focus, set the magnification you want, then rock gently forward and back until the eye, petal edge or gill is crisp — this is far faster than chasing focus with autofocus.
Use live view, magnify to 5× or 10×, and turn on focus peaking if your camera has it. Breathe out slowly and release the shutter at the bottom of the breath. For handheld work, keep the shutter speed at 1/250 sec or faster, or stay at your camera's flash sync speed and let the flash freeze the motion instead.
Resist the urge to stop down forever. Past f/16, and often earlier, diffraction softens the whole frame, and no amount of sharpening will bring back detail that was never recorded.
Macro lighting is the difference between a record shot and a photograph. In flat midday sun you get harsh highlights on wet shells and deep black shadows underneath. Go out early, when light is soft and low, or work in the shade of a hedge.
Backlight is the most rewarding. Position yourself so the sun sits behind a flower or fly, and translucent petals and wings glow while the edges pick up a bright rim. Use a small reflector or a piece of white card to bounce a little light back into the shadow side, and a diffuser between sun and subject when the contrast gets too punchy.
If you need small apertures and reliable light, flash is the practical answer — as long as you soften it. A compact flash with a diffuser close to the subject, or a twin-head setup, gives you control without the flat, shadowless look a bare ring flash produces. Dial the ambient exposure down a stop or so and let the flash do the heavy lifting, then watch for hotspots on shiny carapaces. A black card slid behind a subject can turn a busy background into clean, dark separation.
Cold mornings are gold. Insects are sluggish until they have warmed up, so a dew-covered damselfly at sunrise will often sit still for minutes. Wind is the real enemy: wait for lulls, shelter stems with your body, or use a small clamp on a flower stem to hold it steady while you work.
When depth of field simply cannot cover the subject — a whole mushroom, a moss capsule, a curled petal — stack it. The principle is straightforward: several frames, each sharp in a different plane, merged by software.
Ten to twenty frames handles most flowers and fungi. Live subjects rarely cooperate: for those, use a single well-lit frame at a sensible aperture, or try a quick handheld stack and accept that some will fail.
Not everything has legs. Flower stamens, the veins of a backlit leaf, frost on a seed head, lichen on a wall and the grain of weathered timber all reward macro treatment. Raking light from the side reveals texture that flat light hides, and a polarising filter can cut the sheen on wet leaves and glossy petals.
Composition matters as much as focus. Give a bee space to move into rather than centring it, and let the background fall away into soft colour instead of competing detail. For textures, fill the frame completely and let pattern do the work.
Arrive early, walk slowly and look at the undersides of leaves as often as the tops. Before each subject, check three things: is the light working with me, is the background clean, and where exactly is my plane of focus? Take one careful frame rather than twenty careless ones, review it magnified on the back screen, then adjust and shoot again.
Clean your lens front and sensor when you get home — dust that is invisible at normal distances becomes a blemish at 1:1. Then spend ten minutes stacking and culling. The patience you put in behind the camera is exactly what shows up in the final image.
Photo: Chris F / Pexels
Previous Post
Lens Mounts Explained: A Beginner's Guide to Fitting Lenses
Next Post
Five Common Mistakes When Shooting with a Wide-Angle Lens